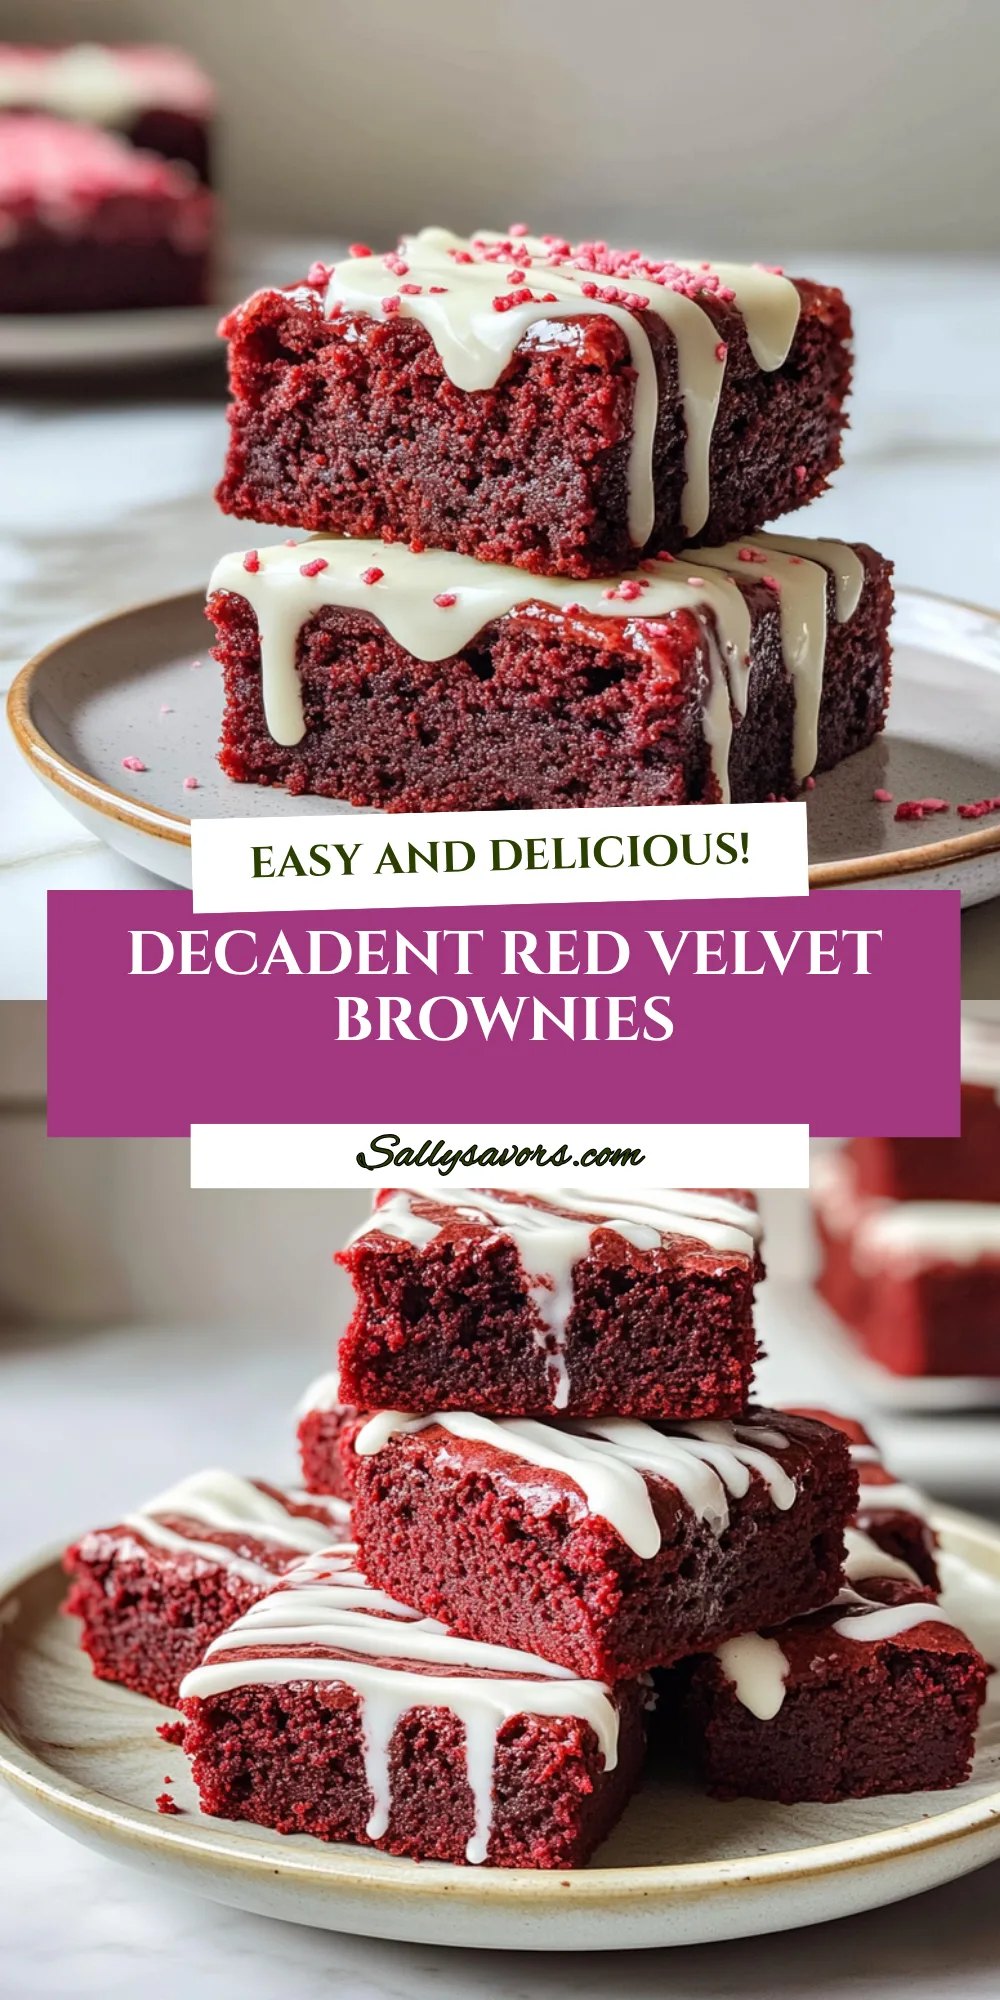
The kitchen’s buzzing, and there’s a sweet smell in the air. The Red Velvet Brownies are almost ready, and I’ve already snagged a corner piece (it’s that good).

Jump to:
- Why You’ll Love This Red Velvet Brownies
- Red Velvet Brownies Ingredients
- How to Make Red Velvet Brownies
- How to Store Red Velvet Brownies
- What to Serve with Red Velvet Brownies?
- Red Velvet Brownies Variations
- Make Ahead Options for Red Velvet Brownies
- Red Velvet Brownies Recipe FAQs
- Final Thoughts on Red Velvet Brownies
This one’s for those nights when you have unexpected guests or a sudden craving. You won’t spend hours baking — it’s all about one bowl and thirty minutes in the oven. Plus, there’s no fussing with complicated ingredients; just simple stuff like butter and sugar. Get ready to dig in!
Why You’ll Love This Red Velvet Brownies
- Super Easy: Whisk, mix, pour, and bake — it seriously takes under an hour from start to finish.
- Rich Flavor: The combo of buttery sweetness and a hint of cocoa creates a super satisfying taste that’s hard to resist.
- Melty-Gooey Texture: These treats come out chewy on the inside and slightly crispy on the edges, which is just divine.
- Versatile Treat: Perfect for parties or just because — but don’t expect leftovers; they disappear fast!
- Cream Cheese Perk: The topping adds a luscious creaminess, but you’ll need to plan ahead since it needs some cooling time.
Red Velvet Brownies Ingredients
For the Base:
unsalted butter (1 cup) — Use real unsalted butter, like Land O’Lakes, or it’ll taste flat and oily.
granulated sugar (2 cups) — Don’t skimp on the sugar; it balances the cocoa or you’ll end up with bitterness.
eggs (4 large) — Use large eggs, not medium; otherwise, your brownies might not rise properly.
vanilla extract (1 tablespoon) — Get pure vanilla extract, not imitation; the flavor’s a game changer or it’ll taste cheap.
all-purpose flour (2 cups) — Don’t swap all-purpose flour for whole wheat; your brownies will be dense and dry.
cocoa powder (1 tablespoon) — Use unsweetened cocoa powder, like Hershey’s; don’t even think about sweetened or it’ll ruin the flavor.
baking soda (1 teaspoon) — Don’t skip the baking soda; it adds lift, or you’ll end up with a brick.
salt (1 teaspoon) — Use a good pinch of salt; it enhances sweetness or your brownies will taste bland.
red food coloring (1 tablespoon) — Go for gel food coloring instead of liquid; it’s way more vibrant or your color’ll be weak.
For the Topping:
cream cheese (8 oz) — Use block cream cheese, not the spreadable kind; it won’t set right or will be runny.
powdered sugar (1 cup) — Sift powdered sugar before adding; it’ll mix better or you’ll get lumpy frosting.
cup (1 4) — Measure your cup properly; too much flour makes them dry, so spoon and level!
Full measurements in the recipe card below.
How to Make Red Velvet Brownies

1. Preheat and Prep: Preheat your oven to 350°F (175°C) and grease a 9×13 inch baking dish. You want to make sure it’s ready for that beautiful batter!
2. Mix Wet Ingredients: In a large mixing bowl, whisk together melted butter and granulated sugar until well combined. It should look shiny and slightly thickened — about 2 minutes is good.
3. Add Eggs and Vanilla: Add eggs one at a time, mixing well after each addition, followed by the vanilla extract. The batter should be smooth and glossy now (you’ll love the smell!).
4. Combine Dry Ingredients: In a separate bowl, combine flour, cocoa powder, baking soda, and salt. Whisk it all together until it’s nice and uniform.
5. Mix Everything Together: Gradually add the dry ingredients to the wet mixture, mixing until just combined. Don’t overmix or your Red Velvet Brownies might turn out tough — you want it smooth but not too stiff!
6. Add Food Coloring: Stir in the red food coloring until the batter is uniformly colored; you want that vibrant red! Pour it into the prepared baking dish and spread evenly.
7. Bake Time: Bake for about 30 minutes or until a toothpick inserted in the center comes out clean. You’ll know they’re ready when they start to pull away from the edges of the pan.
Exact quantities in the recipe card below.
How to Store Red Velvet Brownies
- Room Temperature: Keep them in an airtight container for up to 3 days. Just make sure they’re completely cooled first (or they’ll get soggy, trust me).
- Refrigerator: Store in the fridge for up to a week, but the cream cheese topping might lose some of its fluffiness. Use a covered container to prevent them from drying out.
- Freezer: Wrap individual squares tightly in plastic wrap and place in a freezer-safe container. They’ll last about 2 months. Just know that the texture might change a bit after thawing.
- Reheating: For best results, microwave on low for about 10-15 seconds until warm — you’ll want them slightly gooey, not hot and hard!
What to Serve with Red Velvet Brownies?
It’s rich and sweet enough on its own, but a little contrast makes every bite even better. Here are some ideas:
- Vanilla Ice Cream: The cold, creamy texture perfectly balances the warm, fudgy brownies. Plus, who doesn’t love ice cream?
- Fresh Raspberries: Their tartness cuts through the sweetness nicely. Just toss a handful on the plate for color and flavor.
- Espresso: A shot of strong coffee brings out the cocoa notes and adds warmth. Brew it fresh for the best flavor!
- Coconut Whipped Cream: This light, airy topping offers a nice texture contrast. Whip it up while the brownies cool to save time.
- Mint Leaves: They add a refreshing pop against the richness of this dish. Just sprinkle a few on top before serving.
- Lemon Zest: A sprinkle brightens everything up! Grate some over your slices for an easy burst of citrus without any prep.
- Chocolate Sauce Drizzle: Try drizzling warm chocolate sauce over each brownie for extra gooey goodness — just heat it in the microwave for 20 seconds.
These sides will help keep things balanced and make your dessert experience even more enjoyable!
Red Velvet Brownies Variations
Here’s how to play with this recipe and make it your own!
- Chocolate Swirl: Add 1/2 cup melted dark chocolate to the batter for a rich, chocolaty twist.
- Nutty Crunch: Fold in 1 cup chopped walnuts or pecans after mixing the dry ingredients for added texture.
- Cream Cheese Swirl: Mix half of the cream cheese topping with 1/4 cup sugar and swirl it into the brownie batter before baking.
- Gluten-Free Option: Substitute all-purpose flour with an equal amount of gluten-free flour blend for a gluten-free treat.
- Coconut Topping: Stir in 1/2 cup shredded coconut into the cream cheese topping for a tropical flair.
- Extra Creamy Layer: Add another 4 oz of cream cheese to the topping for an ultra-rich finish (trust me on this).
- Minty Fresh: Mix in 1 teaspoon peppermint extract with the vanilla extract for a refreshing minty kick.
Make Ahead Options for Red Velvet Brownies
I love prepping the base for these Red Velvet Brownies a day ahead. Just make the batter, pour it into your greased baking dish, and cover it tightly with plastic wrap. You can store it in the fridge overnight, then bake it fresh in the morning or right before serving. The brownies hold up well for a few days at room temperature, but the cream cheese topping is best made just before serving to keep that fluffy texture. I usually whip it up in about 5 minutes while the brownies cool down. Trust me, don’t let that topping sit out too long—it’s not gonna have that delightful lightness if you do! Just bake and top right before enjoying!
Red Velvet Brownies Recipe FAQs
Can I use a different type of food coloring for Red Velvet Brownies?
I really recommend sticking with gel food coloring instead of liquid. The gel gives you that vibrant red color we all love without watering down the batter. If you go with liquid, your brownies might end up looking more brown than red (and we can’t have that!). So, grab the gel — it’s totally worth it for the look!
Why did my Red Velvet Brownies turn out dry?
Most likely, you used too much flour. Make sure to spoon and level your flour when measuring; packing it down can lead to dry brownies. Also, if they’re overbaked even a few minutes, they can become crumbly and tough. You’ll know they’re ready when they start pulling away from the edges of the pan, and a toothpick comes out clean but not too clean.
Can I make this dish ahead of time?
Absolutely! You can bake these bad boys a day or two in advance and store them covered at room temperature. Just wait until they’re completely cooled before frosting with the cream cheese topping. If you want them firmer for serving later, toss them in the fridge after frosting — just let them sit at room temperature for about 10-15 minutes before cutting into squares.
What can I substitute for granulated sugar in this recipe?
I wouldn’t recommend swapping out granulated sugar because it balances the cocoa flavor perfectly. If you’re trying to cut back on sugar, maybe try using a sugar alternative that measures cup-for-cup like coconut sugar or brown sugar. Just keep in mind that those might change the flavor slightly and make your brownies more moist or dense than usual!
Final Thoughts on Red Velvet Brownies
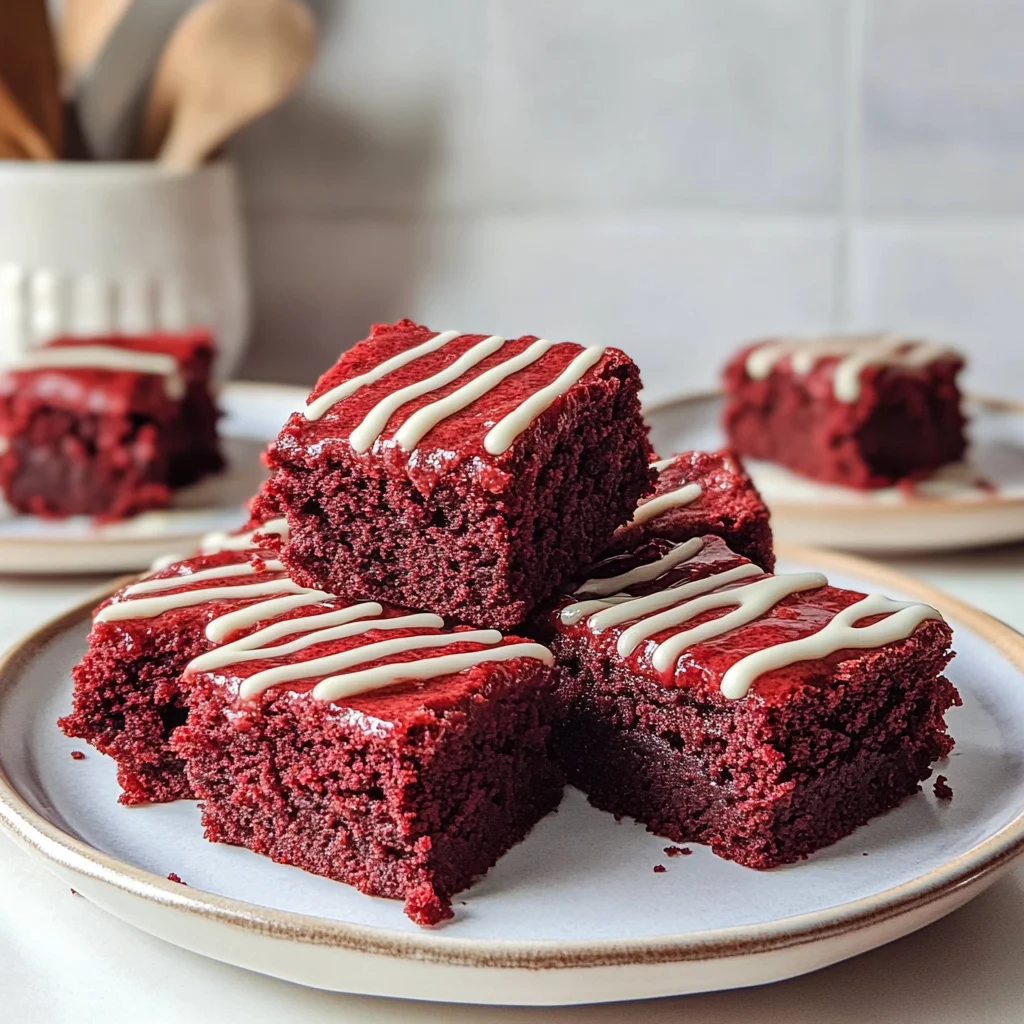
These Red Velvet Brownies are all about that rich, creamy topping that takes them from good to amazing. The contrast of the soft brownie with the fluffy cream cheese is seriously something special. If you’re looking for a dessert that feels fancy but doesn’t require hours in the kitchen, this one’s it. So if you’ve been putting this off, tonight’s the night. Let me know how yours turned out in the comments!
Red Velvet Brownies
Ingredients
Method
- Preheat your oven to 350°F (175°C) and grease a 9x13 inch baking dish.
- In a large mixing bowl, whisk together melted butter and granulated sugar until well combined.
- Add eggs one at a time, mixing well after each addition, followed by vanilla extract.
- In a separate bowl, combine flour, cocoa powder, baking soda, and salt.
- Gradually add the dry ingredients to the wet mixture, mixing until just combined.
- Stir in the red food coloring until the batter is uniformly colored.
- Pour the batter into the prepared baking dish and spread evenly.
- Bake for 30 minutes or until a toothpick inserted in the center comes out clean.
- In a medium bowl, beat softened cream cheese until smooth.
- Gradually add powdered sugar and mix until well combined.
- Add heavy cream and whip until the mixture is light and fluffy.
- Once brownies are cooled, spread the cream cheese topping evenly over the brownies.
- Cut the brownies into squares and serve immediately, or refrigerate for a firmer texture.
- Enjoy your delicious red velvet brownies!